As if I don't have plenty of things to keep me busy in my regular life, I've been planning some fun stitching projects for the winter. There's something about fall/winter that seems to lend itself to snuggling up on the couch in your pjs and watching Netflix while stitching your long evenings away. (I need to have the fella hook me up with a small light at his house, so I can multi-task a little while we're watching our shows together. It's not too soon for that, is it? I mean, we've been dating almost four years now...) Anyway, I'm excited to try some new things with hand embroidery and am planning on venturing out into that more where I've focused primarily on cross-stitch in the past. It's not like I'm going to stop cross-stitching or anything; I just like the option of a more free-form style with embroidery.
To that end, I've bought a collection of different sized hoops for these projects and am excited to start filling them up. I used a new (to me, at least) Etsy shop, CraftyWoolFelt, and was very pleased with their prices and quick shipping times. Doesn't the stack of hoops look just like a stack of possibility?
The lady at the Hobby Lobby fabric counter probably hates me because I also bought 1/4 of a yard of like 10 different fabric prints. Here are a few that I'm carrying around with me in my craft bag that I tote to and from school each day like I'm really going to have time to work on it there - haha! Aren't these prints just adorable? I'm picturing adding some fun embroidery and maybe even sequin/button accents to them for family/friend gifts or even to sell a few for the holidays here in my online store. Wouldn't that be a small, personalized, fun gift for someone? I'm still thinking about when I can get this done and who might be interested in this kind of thing. Either way, I'm excited about playing with these patterns and hoops for sure.
It's kind of exciting to have all of these fun projects planned; now, I just need to translate those plans into actions!
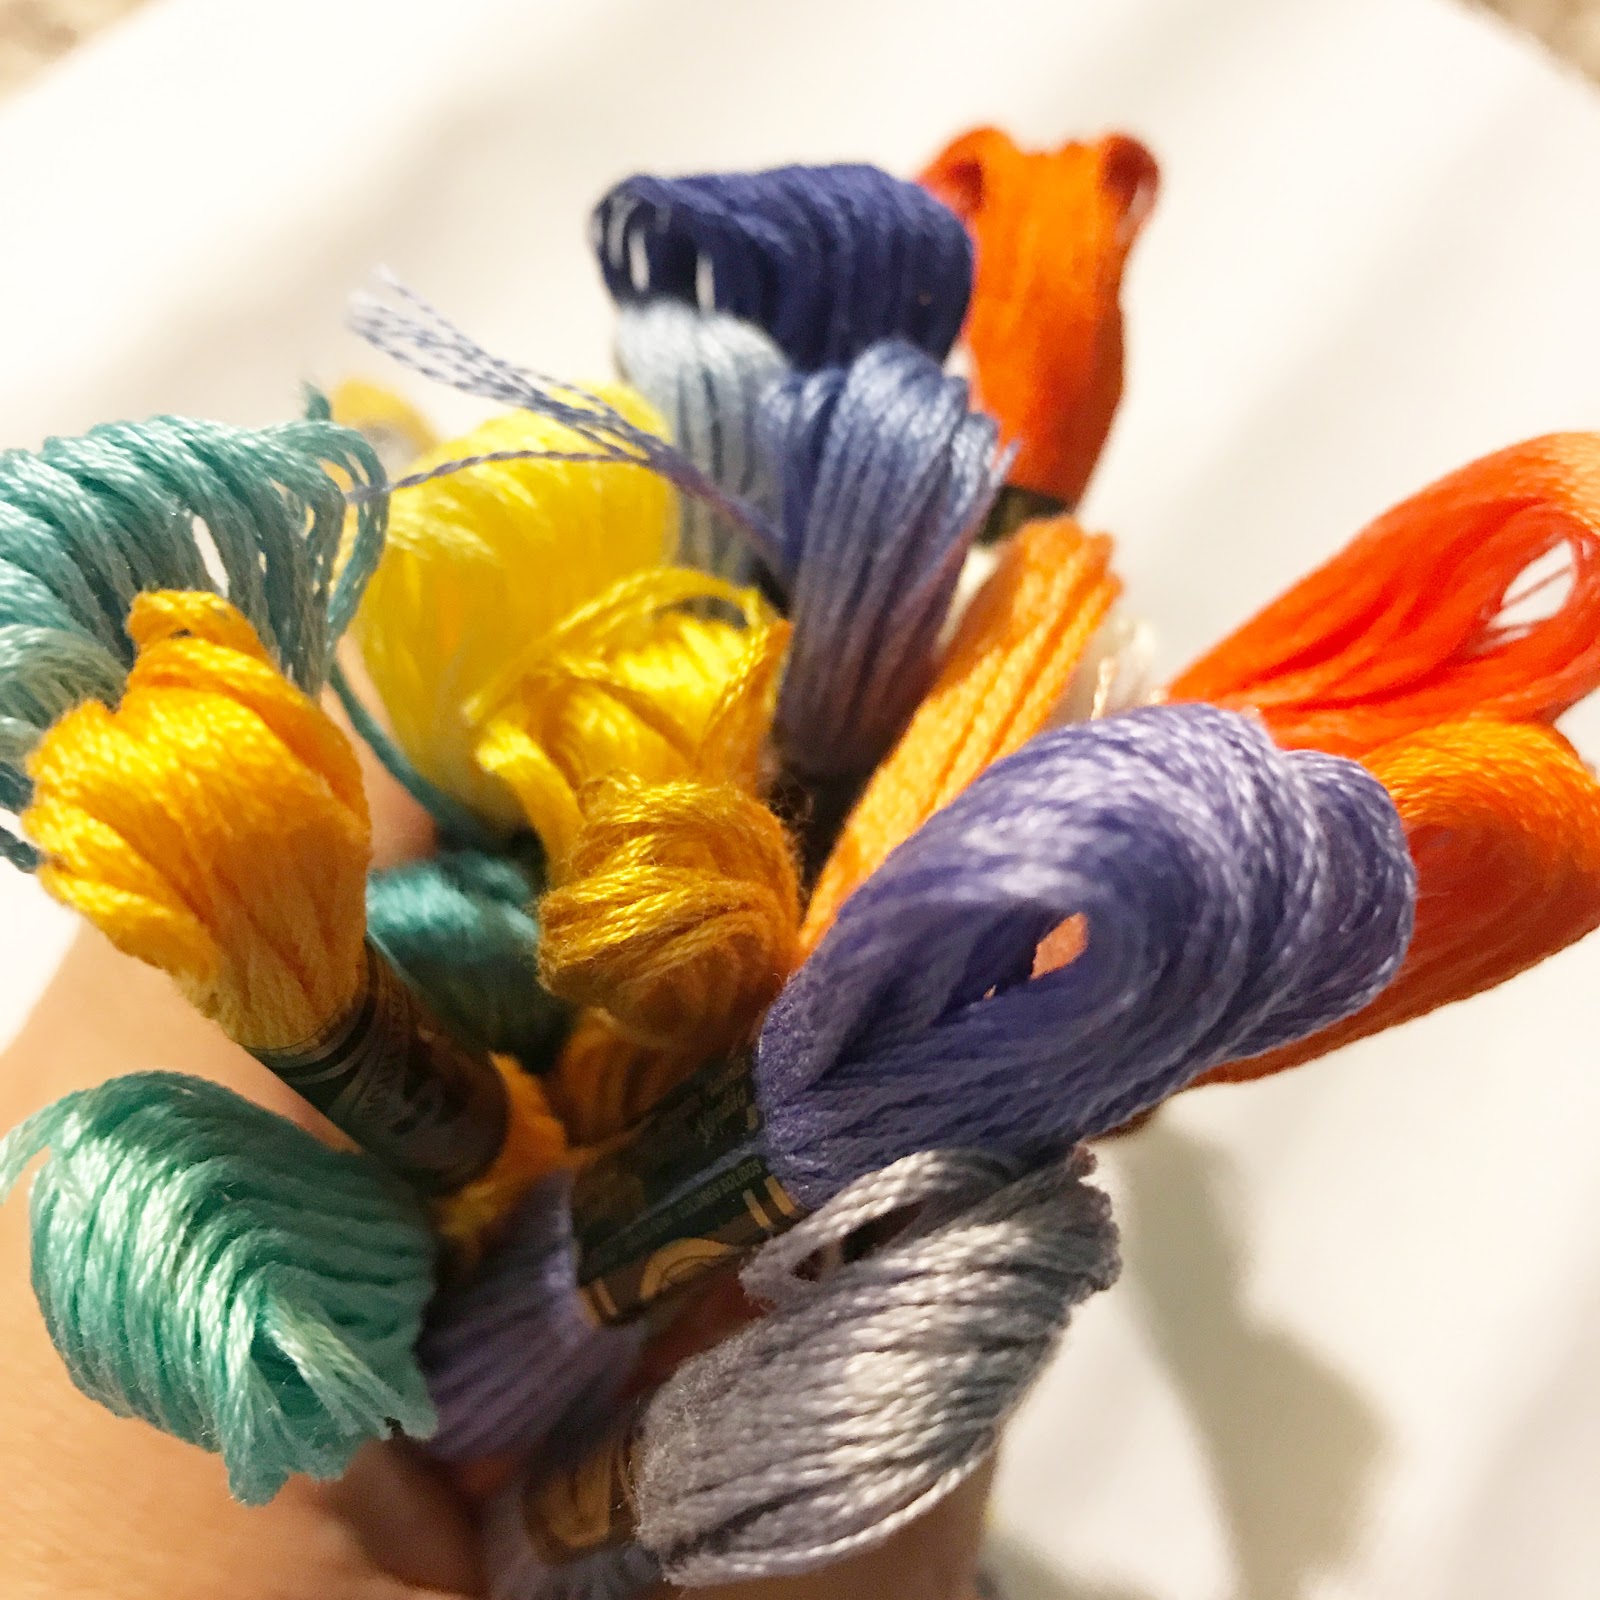
Holding a handful of floss for a new stitching project is always something I enjoy. Aren't these colors just delicious?
When I start a new stitching project, I always begin by searching for the floss I already own, and then I head to a craft store to buy the fabric (if needed) and any additional floss colors I couldn't find in my stash. This new project of mine has an interesting collection of colors, I think.
My new project is by Etsy seller Satsuma Street - I love that shop's patterns and highly recommend that you check out their selection. This is the third pattern from their city collection that I'm stitching. I've already completed Pretty Little Italy and Pretty Little Paris; up next is Pretty Little Amsterdam. You can see that I'm off to a fairly strong start after spending a weekend feeling puny on the couch and bingeing on both Netflix and stitching.
My goal is to finish this piece by Thanksgiving. I'm not a quick stitcher and often will put aside my projects for several days at a time. I also work intermittently on small projects at the same time. For those reasons, I try not to get too caught up in how long it takes me to complete a project. I figure a couple of months will be what I need to finish up this fun Amsterdam piece. I'd rather enjoy the process than stress about a completion date anyway.
Do you stitch? I'd love to know if you have any fun projects in the works. :)
It looks like I'm not quite ready to abandon my blog yet. When I considered it over the weekend, it saddened me to think it would be gone. Your comments and suggestions helped clarify for me why I've continued to blog throughout the year, so I appreciate those of you who took time to respond to last week's post. For now, I'm sticking with it and using it as a place to say what I don't say elsewhere and as a place to store some of my memories until I scrapbook them. How can those not be good things, right? Anyway...
Like many of you, I love to make plans. The anticipation of the fun I'll have or a place I'll visit is almost as much fun as the actual event. I feel the same way about making crafty plans. When I consider all of the projects and plans I have in my crafty life, I get really excited about those prospects. Since I also love reading about other people's crafty plans, I thought I might share some of mine with you here. And look, I decided I needed to keep a crafty planner in the process of all of this thinking about my crafty goals. I had this adorable personal-sized Heidi Swapp planner just lying around my studio space collecting dust, so I've decided to use it for my crafty planning purposes. It's honestly a bit small for my preference, but using it seemed like the economical, smart choice instead of rushing out to buy something else. (I am giving myself permission to change in January if I REALLY want to try a different format that's larger.)
I'm not decorating it to make it pretty or anything; this planner is really just for the utilitarian purpose of trying to organize my crafty life. If it works, I could always decide to decorate it later. For now, I think I want to spend my time making other projects rather than decorating my planner. I'll just drool over everyone else's gorgeous planner shares online while I use mine to make lists. :) At least the outside of mine is cute without any effort... hahahaha!
Because I like to dabble in different kinds of hobbies and crafts in my life, I've separated my crafty plans into different categories for clarity. In the list below, I'm sharing my crafty plans for the next 2-3 months with you, and, yes, my goals are quite lofty. I mean, that's just how I roll. :)
Scrapbooking plans
1. Continue working on my 2017 digital PL spreads - goals of 2 pages per week minimum (tune in to the podcast in two weeks for more details about this!)
2. Add spine labels to all of my finished albums on display in my living room
3. File huge stack of finished layouts in the appropriate albums
4. Make three layouts per month for my regular albums and make accompanying process videos
5. Begin work on Kelsey's wedding mini-album
6. Update Selfies class for Nashville retreat
7. ScrapGals Nashville retreat, October 6-8
Stitching plans
1. Continue working on gifts of embroidered necklaces - really need 5 of them by the end of September
2. Choose a new, large project to work on beginning in late August - probably another city of the world to continue that series
3. Frame the two city stitching projects I've finished and display in my living room
4. Download free stitching projects from DMC for future plans - they have some great freebies that I don't want to miss out on because I'm a slowpoke
5. Decide which (if any) holiday projects I want to make this year - consider an ornament series that I could make for myself and for Kelsey and Jake
Other crafty plans
1. Create a late summer painted pillow cover or band for my living room
2. Make new spirit shirts for my school bestie and me
3. Create a late summer painted canvas for my front door (similar to the pumpkin one I made last year - maybe sunflowers or an owl or something to tide me over until the beginning of October)
4. Continue my 100 day sketching project round 2, although I'm already woefully behind schedule
5. Attempt painting canvas fall shoes similar to the way the Certified Celebrator did the pencil ones for back to school
Social media plans
1. Re-commit to blogging at least twice a week - shoot for three times per week sometimes
2. Begin a process video series on my YouTube channel
3. Offer my retreat selfies class as an online option after the Nashville retreat
4. Attend Bell Buckle craft fair on 10/21 for inspiration and maybe some purchases :)
Digital plans
1. Do a better job of ordering monthly prints from Snapfish - try to do this the 29th or 30th of each month
2. As I order monthly prints, check backup status and delete them from my phone - 8k photos on my phone is ridiculous
3. Purchase an external hard drive to use for digital backup of photos and files
4. Delete horrible digital photos three months at a time beginning with digital photos from 2007 - estimate this will take 30 minute increments of time or less
There you have it; these are my upcoming crafty plans for the next few months. I have grand plans, right? Of course, the good thing about a blog is that I can use this blog to hold me accountable for the plans that I've made. But if I fail miserably, then this blog entry becomes tangible proof of my inability to follow-through. Nothing like creating an either-or situation, right? Here's to hoping that I look at this blog as a promise to myself and you, and that I do actually make most of these projects in the next few months.
Do tell: what are your immediate crafty plans/goals?
Don't forget: My second class, One Trip, Three Ways, is now available on my blog. The video attached here is the promo I made for it back at the end of May, even though the class wasn't released until August 1st. In this class, I share my six week trip to Paris in 2015 in three different formats - a planner-style mini-album, a traveler's notebook, and a mixed-page 12 X 12 album. The class includes more than 150 pages of inspiration and several hours of video. At only $20, I think it's a very good value. If you'd like to consider it, please click A Lowder Life Shop.
One of my friends showed me how to make a silk ribbon rose a couple of weeks ago, so I've been carrying around a small piece of duck cloth and practicing them in my spare time. Because, you know, that's totally what people do. My first ones look rose-like, but they def have some problems too.
Here's my best "practice" rose; I really think I'm starting to get the hang of it here.
As I practiced making those, I discovered some really cool embroidery artists on Instagram which led to exhaustive online searches for products until I felt lost down the proverbial rabbit hole known as the Internet. I realized there's an entire market of people who embroider tiny items like jewelry and hair accessories and things; this certainly piqued my interest. And the rest, as they say, is history. I decided to make my very own tiny embroidered necklace and to order all.the.things. so I could make all.the.necklaces. in all.my.spare.time. Not. Haha! Anyway, this one stitch led me to explore this new-to-me 'maker' genre and to get all excited at the possibilities. The very first thing I decided to do was make myself a tiny embroidered necklace although mine is quite simple in comparison to the works of art I'd been drooling over for a few weeks now.
Here's a closeup of the little necklace I made last week using my newfound silk ribbon rose skills and a darling mini-hoop from Dandelyne. (They have a great facebook page and are on instagram too!) While the jewelry part of the supplies aren't cheap, I think the stitching supplies themselves will go a long way to make several projects. For this project, I used a tiny piece of clearance duck cloth, two 1/2 price rolls of satin ribbon from Hobby Lobby, and a giant needle. I ordered the hoop from a Dandelyne reseller on Etsy and already had the necklace chain in my stash. In terms of product pricing, I have maybe $10 in this project. Of course, you then have to factor in your time and energy. (The super fancy ones on Etsy are selling for a minimum of $35 and up to $85 or so each.) I thought y'all might like to hear about the nitty-gritty side of this new-to-me craft that I'm exploring. Wouldn't these make darling little gifts for your family and friends? Hmm...
And here I am sporting my new, handmade necklace at the end of last week. Except for the fella, no one in real life noticed it, so that makes me kind of sad. I'm going to keep wearing it though, and maybe someone will think it's as cool as I do. My virtual instagram peeps seemed to like it. Haha!
If you're on Instagram and love this sort of thing, then there are a bunch of people I'd recommend that you follow. They create tiny works of art that leave me speechless. Here are a few of my faves: @motheroptica, @forestchorusstudio, @cincowildflowers, @thimblethistle, @thecaptainandanouk. You're welcome for all the hours you'll spend perusing their feeds!
I'm still working on full-size stitching too. For whatever reason, it doesn't make me tired to haul out my stitching bag while I'm parked in front of the tv in the evening, not like scrapbooking does, for example. Since I've been home from the retreat in Utah, I've spent quite a bit of time cuddling Charlie-dog who isn't doing well at all and stitching in the evenings. I'm still plugging away on my Pretty Little Italy piece from Satsuma Street. With any luck, I'll be able to put this piece to bed by finishing it this weekend. I'm itching to start something new because I get bored with the same color palette.
After following @sarahkbenning on Instagram for a few months, I finally treated myself to her three month modern hand embroidery pattern subscription. Even though I'm not finished stitching Pretty Little Italy, a cross stitch project, yet, I decided I couldn't wait anymore to try this new hand embroidery project.
Just getting started
Arms of the plant + stripes
Adding in the cactus flowers + plant stand
Here's what I loved about it:
1. It stitched up very quickly. I finished the project in about 36 hours, and I only spent prob 4 hours of total stitching time. I loved the payoff of finishing in a short amount of time; that made me feel successful and motivated to make more.
2. The small size felt good to work with in my hands and made it easy to transport in my school bag.
3. The pattern and instructions guide were easy to follow and left lots of room for choice and creativity.
4. The project cost less than $20 to make. I spent about $12 on the pattern, $2 for the hoop, l than $1 for the fabric remnant, and about $3 for floss. I think that's reasonable for a finished project. I already had scissors, needles, a transfer pencil, and the ribbon scrap I used to hang it.
5. I like that I can use the same pattern with different kinds of fabric and floss and stitches to create very different looking projects. After the initial pattern investment, subsequent projects would be very inexpensive - less than $7 for each.
The back of my hoop isn't neat
It needed to be washed to remove marks
And then I had to iron it
What I didn't like so much:
1. Tracing the design wasn't as easy as the instructions made it sound. Next time, I'll prob use temporary adhesive to make sure my fabric and pattern don't shift during this process. I might also break out y light box instead of using the window method.
2. It used a lot of floss. This project used two skeins of the primary color, for example. A large project could be pricey in terms of floss.
3. The needles I had (size 24 tapestry needles) were difficult to thread using the 6-strand floss as instructed. It looks like I need to buy the needles recommended, a size 5 embroidery needle.
4. The fabric I chose, a lightweight 100% cotton, was a bit too thin. I think a duck cloth would be a better choice for next time.
5. My inexperience with the stitch types made me a little stressed during the project. I wasn't sure about my technique or skill level. A YouTube video with stitch demonstration to accompany each project would be a great addition to the program.
Final project back in the hoop + hung
As you can see, the problems I had were due to my own lack of experience and not the quality of the design or pattern I feel sure that I'll continue to feel more confident and improve my skill it's more reactive.